Pages

Saturday, December 14, 2013

December Mini 2013

Hi - sorry for the lapse in posting, I'm attempting a December Daily-ish album this year and time seems to go by so fast with doing stuff with my kids and general day to day household things as well.  Just a busy time period.

Yesterday I finally sat down and worked on the cover of my album.  Two HOURS later I had to stop.  Kids were waking up and I was getting overwhelmed.  I've never attempted an album like this, so I wasn't really sure what I wanted to do.  My album is a Simple Stories chipboard Sn@p 6x8 album in red that I picked up at Michael's.  I didn't realize until I opened it that it came with paper, chipboard pages and clear pages. 

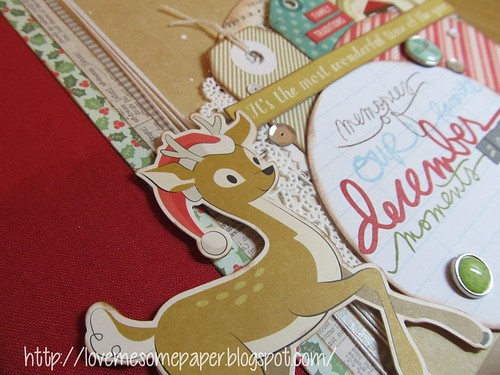
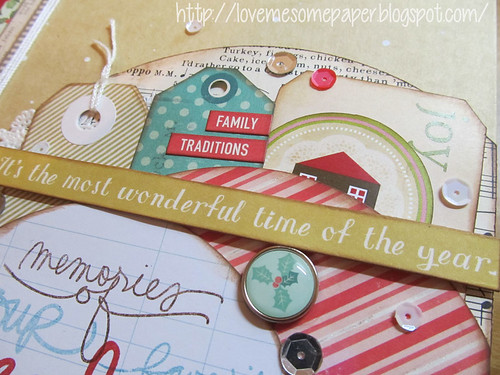
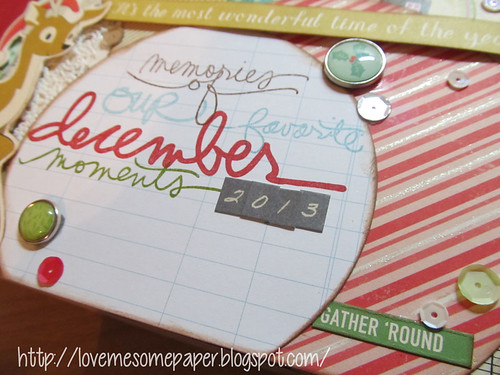
Here's my cover:


I have a bunch of supplies in an iris case that I collected the last month or so.  I have some Silent Night from October Afternoon, a few items from Crate Paper's line (the name is not coming to me right now), some Chic Tags, Ali Edward stamps, and a few other odds and ends.

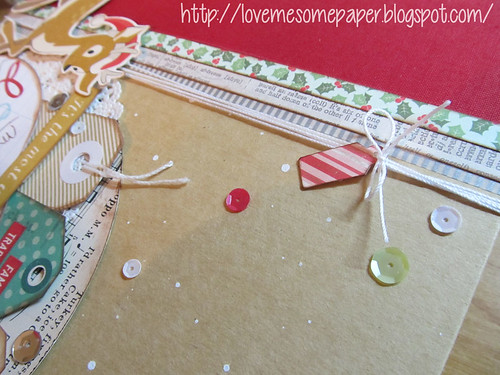
The paper circles are from the Silent Night 8x8 pad and the lined paper is actually one of the paper pages that came in the album that I decided to use for my stamped title.  All the inks are Stampin' up and I inked the edges of everything in Chestnut Roan chalk ink.  The white splatters are from a white Mr. Huey mist/ink.  Sequins are from Lawn Fawn.


Thanks for stopping by!
Nicole

Sunday, December 1, 2013

SG December Blog Hop - Photo Arrangement class - week #3

Hello!

Welcome to the SG Blog Hop for December, if this is your first stop, you might like to start at the Scrapbook Generation blog and then hop through each link.

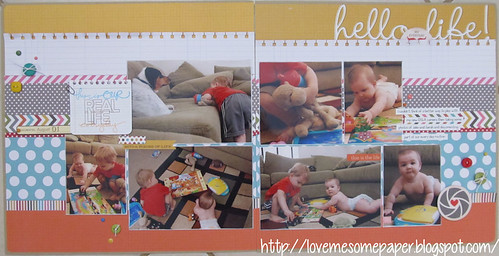
For the hop I'm sharing a layout from Allison's Photo Arrangement Replay class.  I participated with a group of ladies online in working along with the class materials.  I still need to complete the final week, and the class in now over, but there's always time to catch up later.  I cannot say enough great things about this class.  I now look at sketches and see so MUCH more than before.


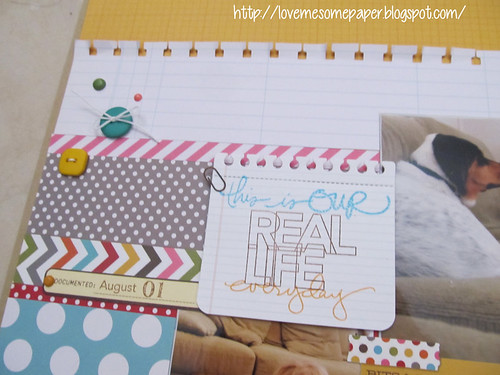
After I finished the pages, I realized they don't line up...oh well, right?!  Here's some close ups of the details:


You can find the SG sketches in their books and as downloads in the SG store, and there is a free one every month in case you wanted to try it out.

Next on the hop is Tina, leave a comment on each blog and one lucky commenter will receive a free sketch bundle of their choice from the store. The winner will be draw on December 9th, so you have one week to leave a comment.

In case you get lost at any point, here is the list all the blogs
Scrapbook Generation blog - http://scrapbookgeneration.blogspot.com/

Thanks for stopping by!
Nicole

Tuesday, November 19, 2013

Welcome to 3 Scrappy Boys Four & Fabulous Anniversary Hop!
If you found your way here from Christy's blog, keep reading you are right where you should be!

If you have stumbled across this hop by chance hop back to 3 Scrappy Boys so you don't miss the HOP!  There's a ton of inspiration, fun, challenges and prizes along the way.

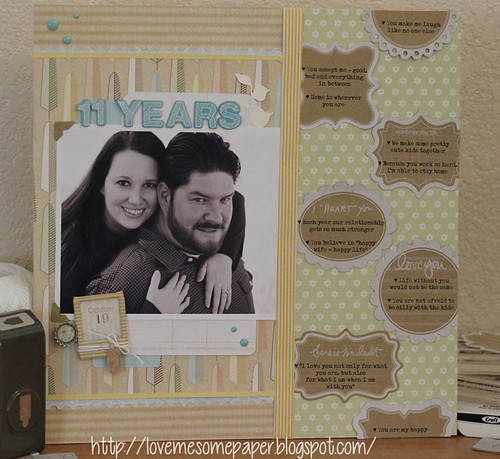
To celebrate our Anniversary I created a layout with a photo of just my husband and I from our family photos taken last month. It just happened that our photos were taken on our wedding anniversary so I decided to make a page celebrating our 11 years together.


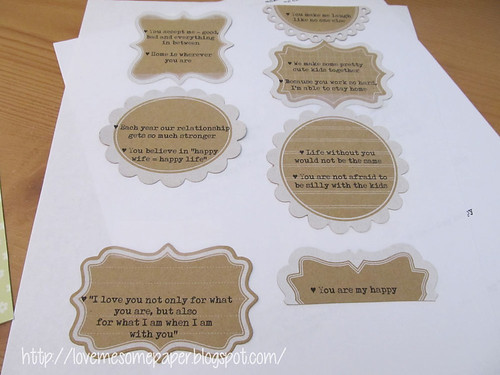
I have the March Main Kit to play with this month, and I was so excited to see the kraft Maya Road die cut tags.  I've seen so many people using similar products to create a unique canvas for journaling.  For my layout, I decided to write down 11 things or reason why I love my husband.  I then typed them up and formatted them to fit on the die cut tags.  Here's a look into my process for printing on tags and die cuts:

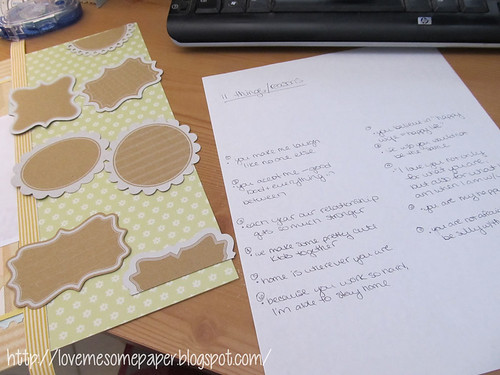
Here's where I made my list, and figured out a placement for the tags in a way that I liked the look.


I then typed them all up and formatted them in my word processing software.  I had to run it through a couple times and change my font size and spacing.  I just used my computer monitor as a light box and held the paper and die cut together to make sure everything would fit.


Then I lightly applied some scotch tape across the top and bottom of the die cut tags.  Normally I would only place the tape along the top, but since there were so many tags and the paper was going around a roller in my printer I opted for extra protection against a jam.


And here they are ready for my page.  I did stamp some Ali Edwards Technique Tuesday phrase stamps in white ink on a few of the tags that I felt had some extra empty space to add some more interest to the journaling.

Before you leave make sure you leave a comment here to qualify to win our blog hop prize.

Just in case you get lost along the way, here is the complete list to get you back hopping in the right direction: (Links need to be added to each Blog)

3SB
Heather
Christy
Nicole  << you are here >>
Sally
Valerie
Michele
Stacia
Lynn
Lanette


Now don't forget when you are done hopping head on over to our forums and join the fun!  We have lots of fun challenges and fabulous prizes waiting for you.

Now you’re off to Sally's Blog.

We will be hopping until Sunday 24th at Midnight.

Our winner will be announced early in the week on the 3 Scrappy Boys Blog and Face Book Page make sure you LIKE us to stay in contact.Have fun and thanks for hopping with us today and good luck with the prizes!!

Nicole

Friday, November 15, 2013

3 Scrappy Boys - 2 page layout for November

Hello!

Today the newsletter for 3 Scrappy Boys went out.  If you haven't already signed up, be sure to here - scroll all the way to the bottom of the main page.  Each month on the 15th Lanette sends out the newsletter packed full of inspiration, reveals, challenges and sometimes sale information.  I have some tips for creating two page layouts in this months newsletter.

For November's newsletter, I created a 2 page layout using my November kit - which is actually store product in the form of the March Main kit - LOVE this kit.


Because I loved so many of the patterns in this kit and wanted to use a bunch, I chose to just trim them into strips and sort of block my photo templates in.  I used the same photo template from Keri Bradford on both pages, I just flipped one of the upside down.  If you look closely in the following photos, you can see how I fixed a goof.  I spilled the tiniest drop of water on one of the my photos and I really didn't want to rip up the collage and have to reprint the whole thing.  Instead, I picked three other photos and reprinted those four and layered them on top of the collage and roughed up the corners with my fingers so you could see the added layers a little better.

I layered a kraft die cut and piece of pattern paper from the kit, with a scrap of vellum from my stash and die cuts I cut with my Cameo with papers from the kit and then added some of the Basic Grey enamel dots, also from the kit.  The yellow and white striped strip is actually the Maya Road adhesive ribbon that was in the kit - I chose to leave the wax paper backing on the ribbon and just attach it with glue dots.  This made the white sections of the ribbon remain white.
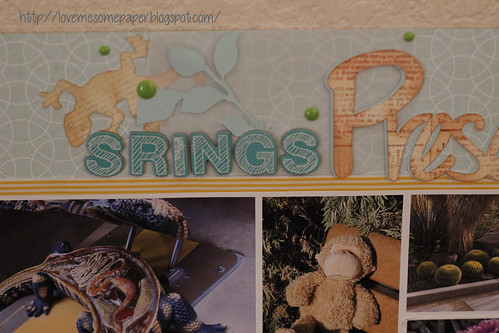
Thickers from the kit (love!) mixed in with die cuts from my Cameo and papers from the kit, another scrap of vellum from my stash and more of those Basic Grey enamel dots.  For the "Preserve" portion of my title, I cut two layers with my Cameo - one in the pretty blue cardstock from the kit, and another out of some cream I had in my stash.  I used a Hero Arts newsprint stamp on the vanilla layer and inked it with some Tim Holtz distress inks. I did the same thing to the little lizard die cut.
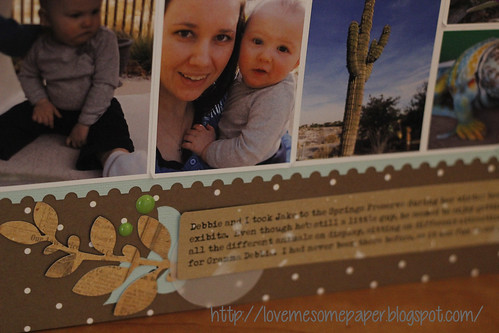
I chose some kraft cardstock in my stash to print my journaling on, and then layered some more of my DIY die cut pieces from the kit papers.  I also tried to splatter some white Mr Huey ink on the journaling...ya, I need some more practice with that.  And you can see in the photo of myself and my DS the addition layer of some of the photos.

Thanks for stopping by and don't forget to go sign up for the 3 Scrappy Boys newsletter!

Nicole


Friday, November 8, 2013

3 Scrappy Boys November Kit reveal & plan of attack!

Hello there!

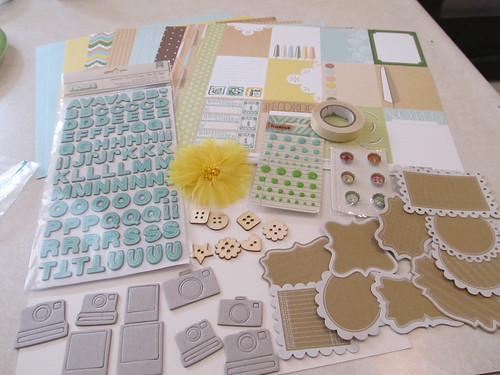
Today I would like to share with you the kit I received from Heather at 3 Scrappy Boys for November.  The Design Team is on a rotating schedule for the kits, and for November I was scheduled for "store product" - and that ended up being the March Main Kit.   I'm soooo glad this kit was sent to me.  I love every single piece of it and was immediately inspired to use it.  Here's what it included:


Life around my house has been getting a little hectic and backed up this month.  So I came up with a plan of attack of sorts to approach my kit this month.  I'm going to scraplift the heck out of it.  I am like so many other scrappers out there with a ton of projects saved in my favorites in online galleries, or pinned on Pinterest or even printed out with notes jotted down.  There are so many talented scrapbookers out there that it's not hard to be inspired and want to recreate something that you have seen.  For me, it's actually remembering to do it and to follow through.  I'm so bad about telling myself "oh I want to make a page just like that with these photos..." and then I don't actually do it.

So for my kit this month, I am challenging myself to get out some inspiration projects and either scraplift them, or use them for basic inspiration, or try new techniques shown in them.  My personal go to favorites lately are Nichol Magouirk, Jen Gallacher, Nancy Damiano - I love scrapbookers who use B sides of paper, die cut shapes and have a more linear design to their pages.

Be sure to check out the 3 Scrappy Boys blog on Sunday, November 10th to see my first creation from this kit!


Tuesday, November 5, 2013

Photo Arrangement Replay class - week #2

Hello - I'm back with some more from Allison Davis' Photo Arrangement Replay sketch class fun.  You can find the class here to purchase through Scrapbook Generation.  I love their sketches and have yet to be disappointed with anything they produce. 

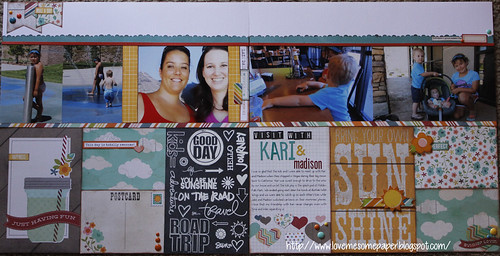
I chose some photos from this summer when a friend and her daughter came to visit.  We let our kids play in the splash pad and then went to have lunch so us mommas could catch up on things going on.  Here's a look at the whole layout:
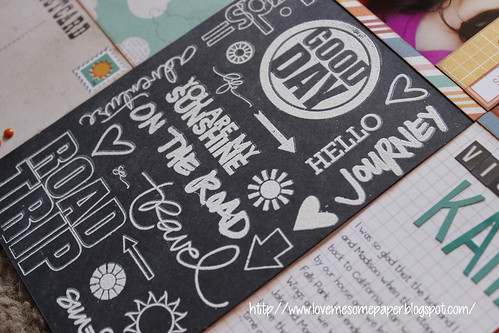
I ended up just using the cut apart cards from the I Heart Summer collection by Simple Stories to block out the bottom portion of the layout.  And I tried to use the chalkboard stamping technique that Nichol Magouirk showed on her blog a while back.  
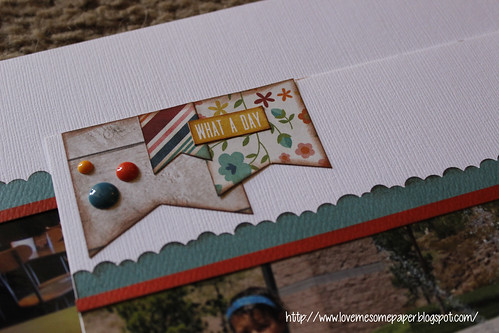
I used some scraps to make a few banners and added them to the upper left corner with some enamel dots.
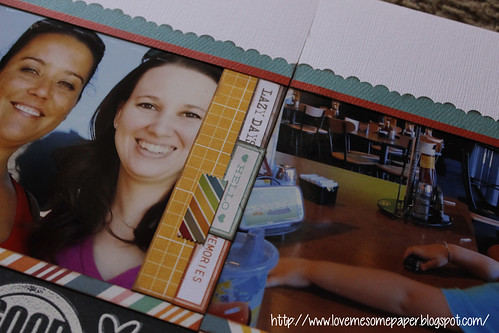
My friend's 5 year old daughter took this photo of us, so my face was cut off and I couldn't really make it a true 6x4 photo, so I just layered some papers and stickers to cover up the blank area of the photo.
I used foam adhesive to pop up some of the stickers, a glitter gel pen on the "bring your own" portion of the card and the sun sticker, and the heart with "summer lovin" is actually a transparency that comes with the collection pack that I just cut down to fit the 4x3 area.

Thanks for stopping by!
Nicole


Monday, November 4, 2013

Photo Arrangement Replay class - 2nd page for week #1

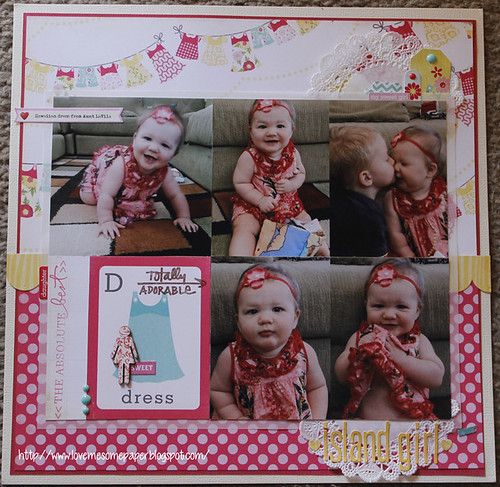
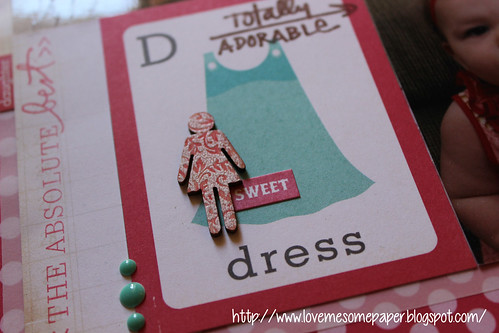
Hello - I'm back to share a second page I made for the first week of the PAR class/challenge I'm involved in.  I decided to take the sketch and make a one page layout.  This chubby little girl is my Sarah Bear and she is wearing a special dress that her great-great-aunt brought back from Hawaii for her.  She seemed to enjoy it.

Here's a look at the page:
And here are some detail shots:    I used some Ali Edwards stamps, SU inks, enamel dots and a little wood veneer girl that I embossed with white power and then smooshed into a pink ink pad to color it.  LOVE it!  he papers are by Echo Park and I used vellum again to help the photos stand out off of the busy papers.
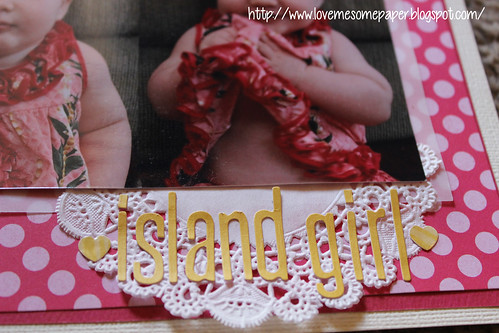
I cut a doily in half and layered some stickers from the collection pack and a few enamel dots.
And I tucked the other half of the doily under my letter sticker title to help it show up on that pink polka dot paper better.  I punched two tiny hearts and covered them with glossy accents.

Thanks for stopping by!
Nicole