
My personal observations for week one were that I need to focus more on deciding what photos and supplies I want to use with a certain sketch and MAKE THEM WORK. Whether that be changing the size of the photos, their orientation, or even how many photos to use.
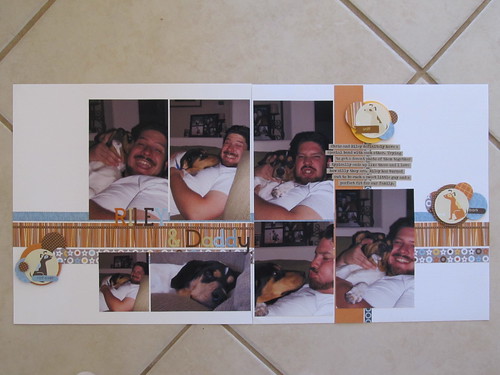
I ended up doing two layouts. My first layout I went with the simple approach and followed the sketch very closely. I do like that I know have these photos completed and ready for an album, but I don't love it. I'm okay with that. I purposely chose photos that didn't need to have a special story told or anything that I would regret using and want to re-do. I feel like my papers and photos have a very "flat" feel and I need to work on that and find what works for ME. I do like the embellishment clusters I made using the papers and stickers from the collection (a VERY old KI Memories pet line) and some circle punches. I am not 100% happy with the title (I think it's hard to see), but I didn't have any Thickers in those colors and couldn't cut any letters with a die cutter as my munchkins were napping nearby. Plus those stickers ripped the photos if I tried to pull them up so they are there for good.
My second assignment for the class went much smoother. This time I thought about what I wanted to do with the sketch off and on over the day. While hunting for cherries on site - it came to me. I knew I wanted to find 2-3 photos of my munchkin on my phone gallery and then go find papers. I found 3 photos and then went straight to my collection packs and settled on Sn@p by Simple Stories.
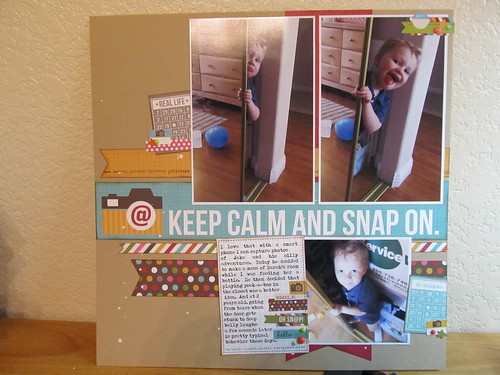
My approach to the sketch and assignment this time was that I just GLANCED at the sketch and got a general idea of what it was. Then I decided I wanted to do a one-page layout and would basically squish the sketch together and go from there. While I was pulling papers I realized that I had some strips leftover from a previous layout and chose to use them anyways by simply hiding the seams/gaps behind my photos and elements. Worked great and you can't even tell. I did have some issues where I tore the papers after I placed the smaller photo down and decided I didn't like where it was and wanted to switch it with the journaling box. Again, I had to limit myself to where I could re-position things in order to cover up the rips and the gaps in the papers underneath. It wall worked out well in the end. I used a couple bingo cards from the 6x6 pad and some camera stickers from the sticker sheet. I need to add the date to the little sticker at the top and then it will be ready to go in a album. I even tried something newish for me and splattered some Mr. Huey's ink on the card stock when I was finished.
Thanks for stopping by!
Nicole
No comments:
Post a Comment