
Left side:

Right side:
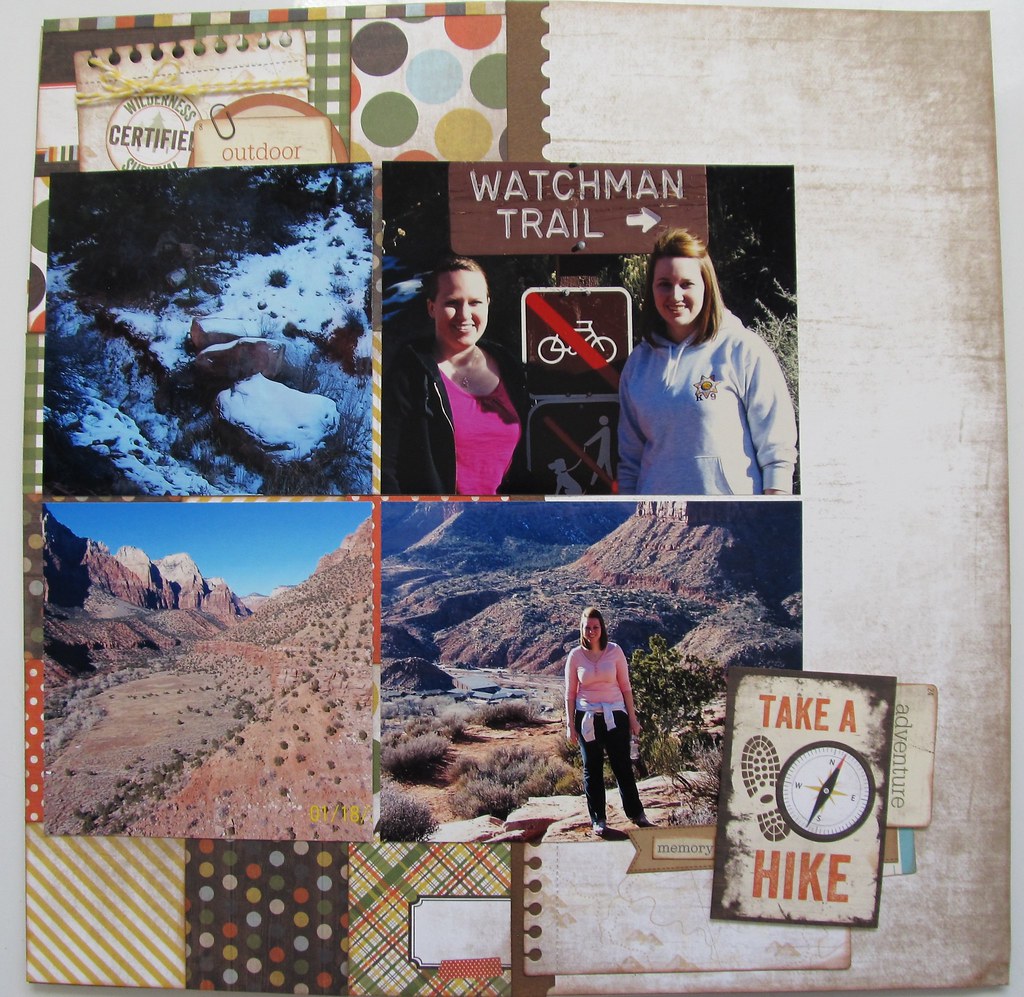
The sketch called for the 2x2 squares only on the left page. I only had the one sheet of 12x12 paper that matched the pad I was using, from the Take a Hike collection from Simple Stories. So I cut that in half and used one half on each pages, and filled in the middle area with all the 2x2 squares from the paper pad. A couple of the square are actually from the cut apart pages and I like the added detail it gives.
Let me show you a bit of my process since I remembered to take a few photos as I went along this time.
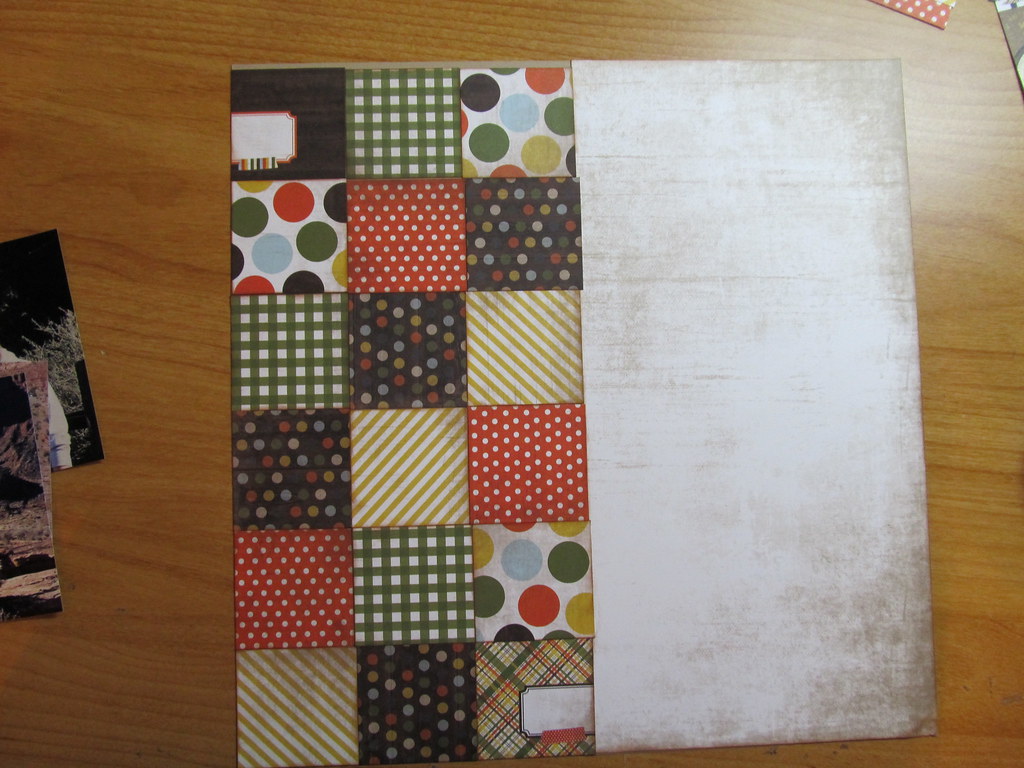
Here you can see when I decided to cover the right side with the little squares as well. And you see that my squares are not neatly lined up where they meat the 12x6 piece of paper. To hide this I just punched a border with some brown Bo Bunny Double Dot paper (I'm addicted to this stuff). You can also see a gap at the very top of the squares. Turns out my cardstock I was using was a tiny bit taller than 12 inches. I ended up just trimming a tiny strip from the stripe pattern and covering it with that. I wasn't concerned about it because I was planning on using some larger element clustered up there.
I really enjoy using computer printed journaling. I do not like my own handwriting and typing it out allows me to think about what I want to say and I have been known to change it a few times prior to printing. With this page I really wanted to use a new (to me) background stamp from Hero Arts that is a little notebook page. I tried to print the journaling in my usual way - print it out on paper, align die cut ontop and tape it down, then print again. I did this THREE times and messed up everyone single one. I ended up just printing in on a full sheet of cardstock and using my stamp-a-ma-jig to line up the stamp. And before I cut the stamped image out, I used some coffee stain stamps to add some interest to the notebook paper.
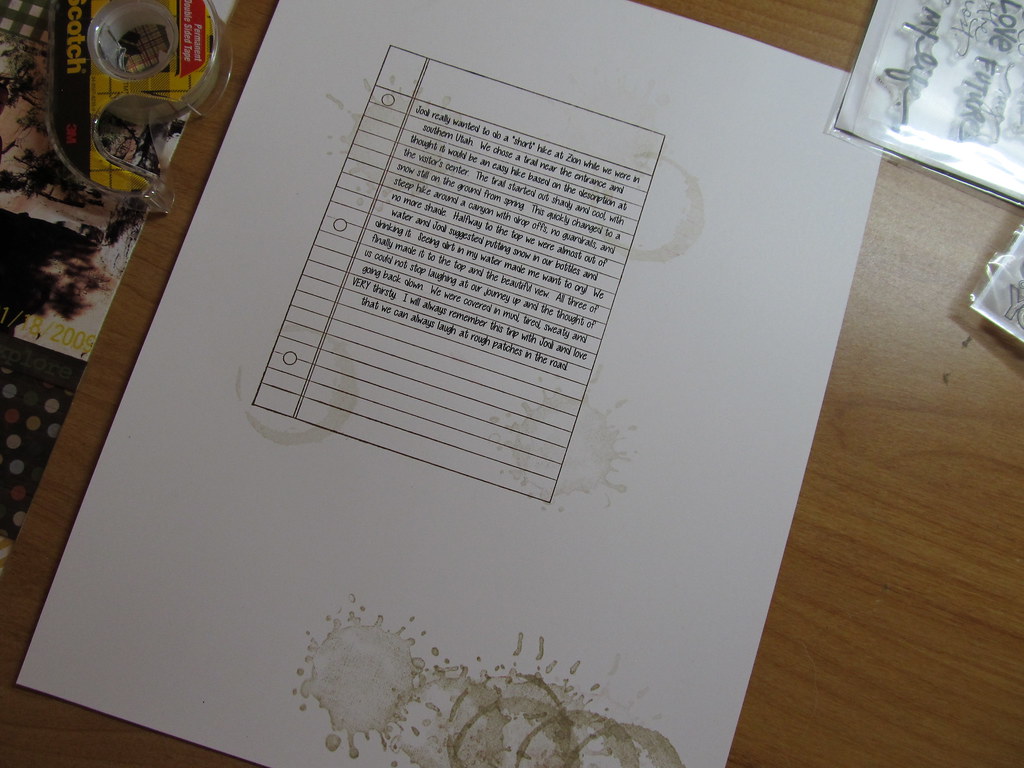
And here's a tip if you are like me and keep forgetting to buy a stamp press - the notebook paper stamp comes as a cling stamp and my blocks were too small. So I just used a wood mounted background stamp as a block.

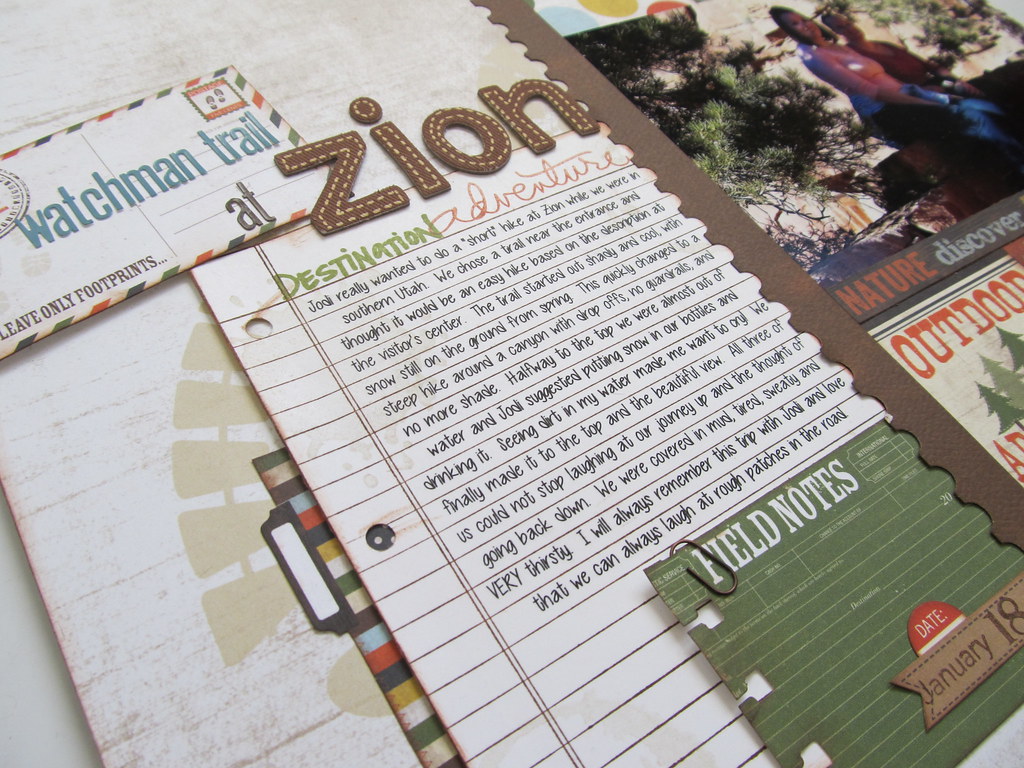
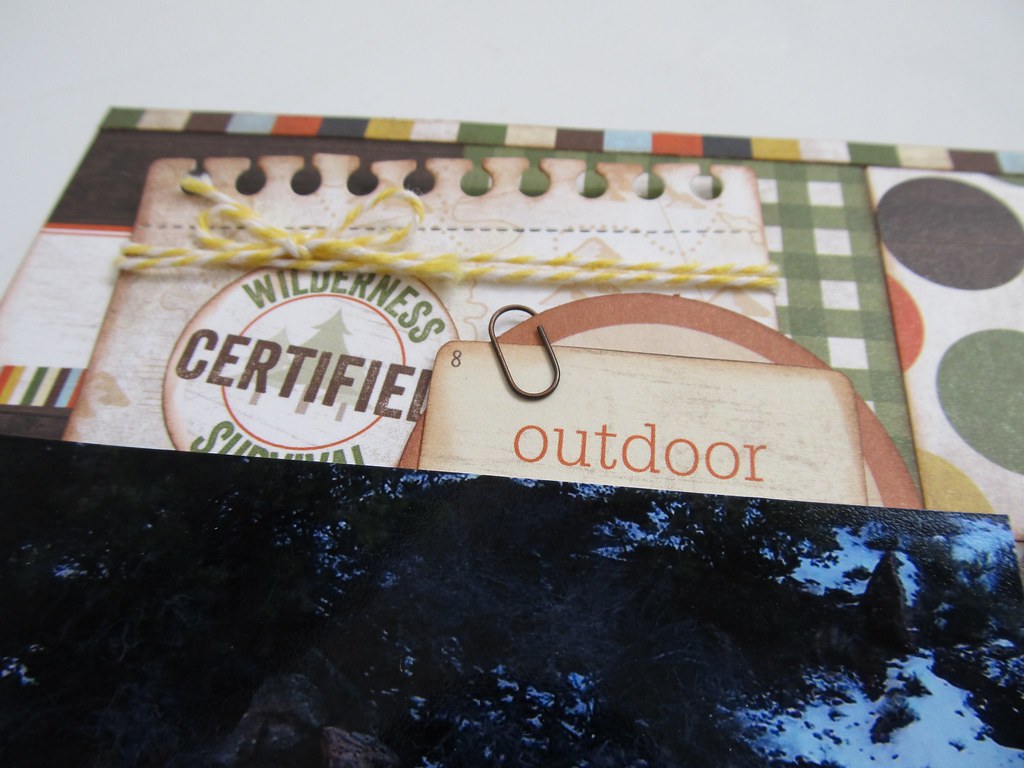
Here's some detail photos:

Thanks for stopping by!!
Nicole
Love it!! Did you do any special margins for your printing? Nice tip, using the wood mounted stamp for a block, never would have thought to do that.
ReplyDeleteTasha - I need to try and do a tutorial for how I print. I just measure how wide the die cut/stamped image was and I squish both side margins in to the middle of the page until it's the same width. Then I type it up, print it out, and take a look. I had to change the distance between each line of text on this one and that took a couple test prints to get it the right size.
ReplyDeleteA tutorial would be great. I go in and fiddle with the settings but for some reason it still doesn't come out right.
DeleteDarling! Love how you did your journaling! Very cool!
ReplyDelete